Composting is a fantastic way to reduce waste and create nutrient-rich material for your garden. Building a compost bin from recycled materials is not only eco-friendly but also budget-conscious. In this guide, you’ll learn how to construct a functional and durable compost bin using items you may already have or can easily source. By the end, you’ll have a custom composting solution tailored to your space and needs.
As an Amazon Associate, I may earn a commission – at no extra cost to you, from qualifying purchases.
Why Build a Compost Bin from Recycled Materials?
- Eco-Friendly: Repurposing materials keeps them out of landfills and reduces the demand for new resources.
- Cost-Effective: Using recycled items saves money compared to purchasing a pre-made bin.
- Customizable: You can design a bin that fits perfectly into your available space.
- Sustainable Gardening: Homemade compost nourishes your garden naturally, reducing the need for chemical fertilizers.
Step 1: Choosing Your Materials
To build your compost bin, look for sturdy, weather-resistant materials that allow for airflow and drainage. Common recycled materials include:
- Wooden Pallets: Widely available and ideal for constructing a large, sturdy bin.
- Plastic Storage Bins: Great for small-scale composting.
- Old Wooden Crates or Shipping Boxes: Perfect for a rustic and functional design.
- Wire Mesh or Hardware Cloth: Useful for creating sides that allow airflow.
- Buckets or Barrels: Repurpose old barrels for tumbling composters.
Before you start, make sure the materials are clean and free of harmful chemicals or residues.
Step 2: Selecting a Location
Choose a spot for your compost bin that gets partial sunlight and has good drainage. It should be easily accessible for adding materials and turning the compost.
Step 3: Designing Your Compost Bin
Option 1: Pallet Compost Bin
Wooden pallets are an excellent choice for building a large, open-air compost bin.
- What You’ll Need:
- 4 wooden pallets.
- Screws and a drill.
- Heavy-duty zip ties or wire.
- Optional: A staple gun and tarp for covering.
- Steps:
- Arrange the pallets in a square or rectangular shape.
- Secure them together using screws or zip ties.
- Leave one side open or create a hinged door for easy access.
- Line the interior with hardware cloth to prevent smaller debris from falling out.
Option 2: Plastic Storage Bin Composter
If you have limited space, a storage bin is a simple and compact solution.
- What You’ll Need:
- A large plastic storage bin with a lid.
- A drill with a ¼-inch drill bit.
- Optional: A small hand saw or knife for cutting.
- Steps:
- Drill holes in the sides, bottom, and lid of the bin to allow for airflow and drainage.
- Add a layer of coarse material, like sticks or shredded cardboard, to the bottom for aeration.
- Place it in a convenient location, and start adding compostable materials.
Option 3: Wire Mesh Compost Bin
A wire mesh bin is lightweight, affordable, and easy to assemble.
- What You’ll Need:
- Wire mesh or hardware cloth.
- Wire cutters and pliers.
- Zip ties or metal clips.
- Steps:
- Cut the mesh to the desired size.
- Shape it into a cylinder or square and secure the ends with zip ties.
- Anchor it to the ground with stakes to prevent tipping.
Option 4: Barrel Composter
For fast composting, a barrel composter allows you to tumble the contents for better aeration.
- What You’ll Need:
- A plastic barrel or drum.
- A metal rod or pipe.
- A saw, drill, and bolts.
- Optional: Handles for easy turning.
- Steps:
- Drill holes for airflow and drainage.
- Insert the metal rod through the barrel to act as an axle.
- Mount the barrel on a frame or place it on cinder blocks for stability.
- Add handles to the sides for easier rotation.
Step 4: Adding Compost Materials
Once your bin is ready, start filling it with the right mix of materials:
- Greens (Nitrogen-Rich): Kitchen scraps, coffee grounds, grass clippings.
- Browns (Carbon-Rich): Leaves, cardboard, shredded paper, straw.
- Water: Keep the pile moist but not soggy.
Aim for a balance of roughly 2-3 parts browns to 1 part greens. Mix the contents regularly to promote decomposition and prevent odor.
Step 5: Maintaining Your Compost Bin
- Turn the Pile: Use a garden fork or compost aerator to mix the pile every 1-2 weeks. For tumbling bins, rotate them regularly.
- Monitor Moisture: Add water if the pile is dry or browns if it’s too wet.
- Troubleshoot Odors: Bad smells often indicate too many greens or poor aeration. Add more browns and turn the pile.
Optional Accessories and Tools
- Compost Thermometer: Track your compost’s temperature to ensure it’s decomposing effectively. The REOTEMP Garden Compost Thermometer is a popular choice on Amazon.
- Compost Aerator: Simplify turning your compost with a tool like the Compost Crank Compost Aerator.
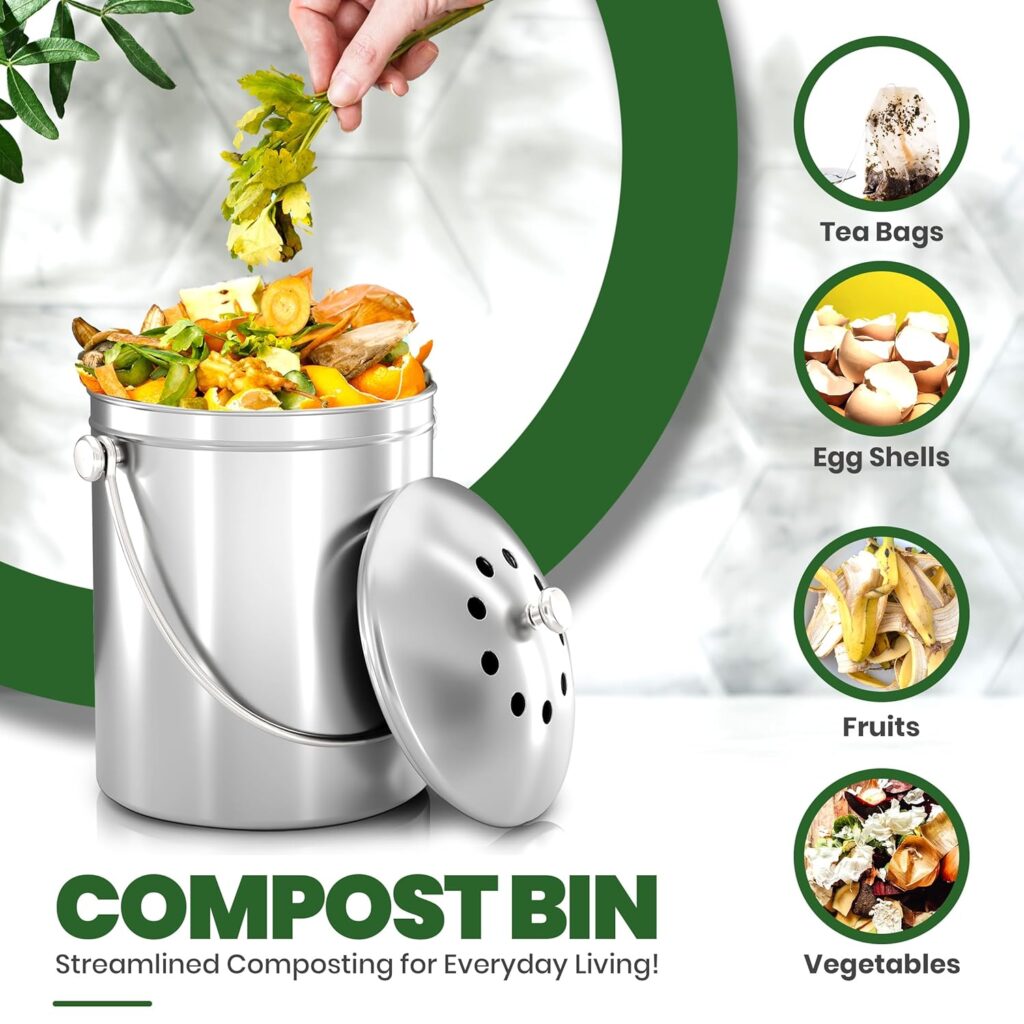
- Kitchen Compost Bin: Collect kitchen scraps conveniently with the Utopia Kitchen Compost Bin, featuring a charcoal filter to eliminate odors.
- Compost Cover: Keep moisture in and pests out with a breathable compost cover, such as the SoloToo Outdoor Compost Bin Cover.

Step 6: Harvesting Your Compost
Compost is ready when it’s dark, crumbly, and has an earthy smell. Depending on your materials and conditions, this can take 2-6 months.
To use your finished compost:
- Mix it into garden beds to enrich the soil.
- Use it as a top dressing for plants.
- Create a compost tea by steeping compost in water for a nutrient-rich liquid fertilizer.
Benefits of Your Homemade Compost Bin
- Waste Reduction: Divert organic waste from landfills.
- Healthier Plants: Feed your garden with natural, nutrient-rich compost.
- Sustainability: Reduce your environmental footprint by reusing materials.
Ready-Made Products to Complement Your Composting
While building your compost bin, you may find these products helpful:
- SMARTPOT Compost Sak: A portable, fabric option for those who want an alternative to a DIY bin.
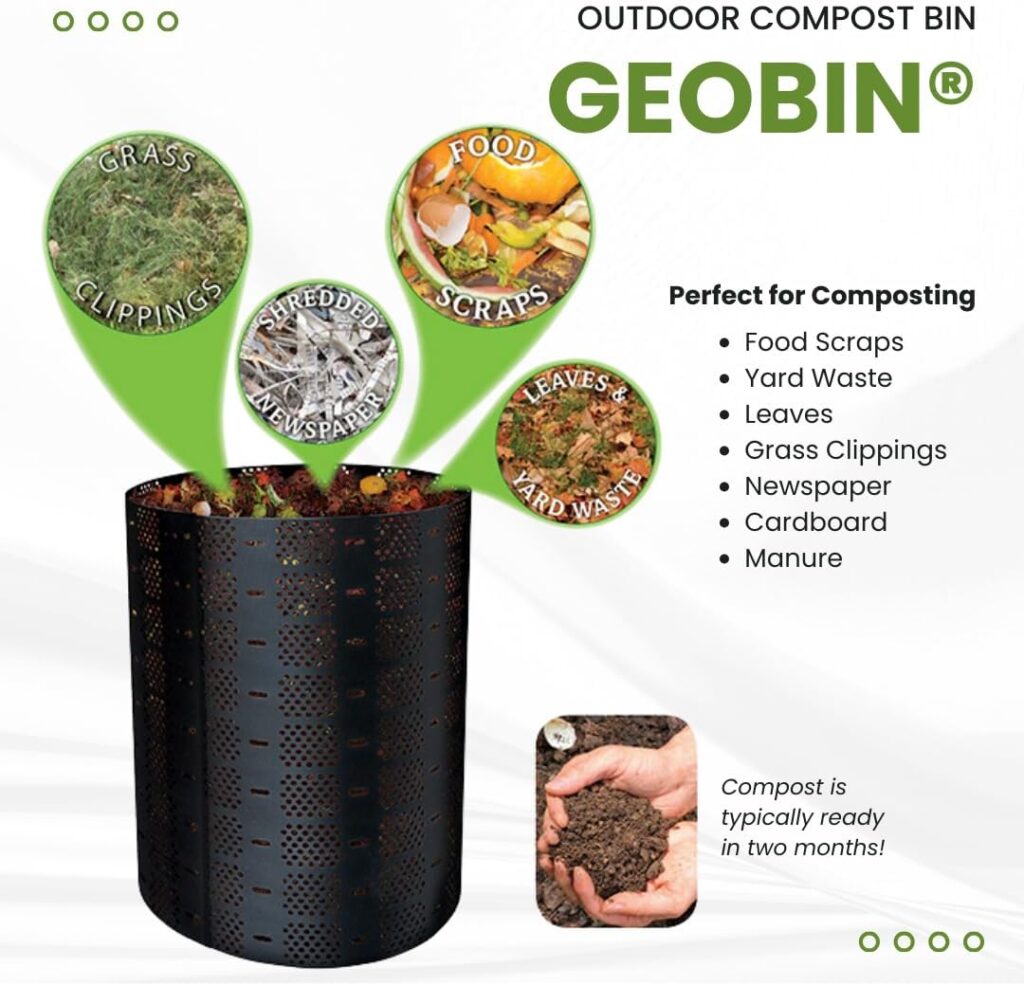
- GEOBIN Expandable Compost Bin: If you want a simple, no-fuss bin, this expandable option is affordable and highly rated.
- Compostable Bags: Collect scraps in biodegradable bags like the Unni 100% Compostable Bags for easy transfer to your bin.

Conclusion
Building a compost bin from recycled materials is a rewarding project that benefits both you and the environment. By using items you already have or sourcing inexpensive recycled materials, you can create a functional and eco-friendly solution for turning kitchen and yard waste into valuable compost. With a little effort and the tips in this guide, you’ll be on your way to sustainable gardening and healthier plants. Happy composting!
